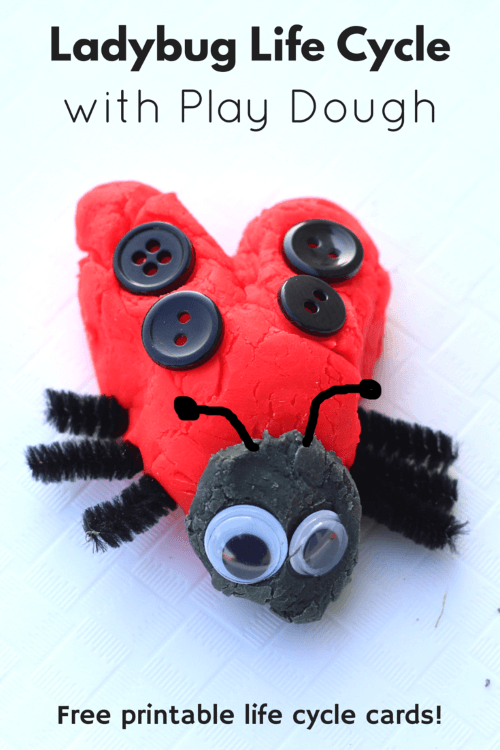
Ladybug Life Cycle with Play Dough
We are learning all about ladybugs and their life cycle, so I thought it would be fun to make models of the ladybug life cycle with play dough.
Lately, my son has been very interested in life cycles. He enjoyed this realistic frog life cycle sensory bin and we are just about to start raising butterflies so we can study their life cycle. In the meantime, we decided to learn about the life cycle of a lady bug.
This activity is a hands-on way to learn about the different stages of the ladybug life cycle. My son learned so much while doing this and retained more than he would have if I simply read him a book about it or did a worksheet.
Materials Needed:
- Ladybug Life Cycle Cards for reference
- Green, yellow, black, orange and red play dough
- Black pipe cleaners
- Black buttons
- Wiggly eyes
If you are limited on supplies you can make the entire life cycle with just play dough and skip the other supplies.
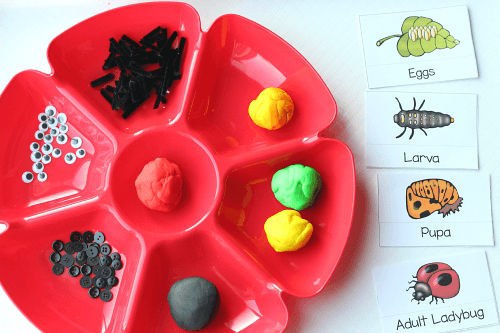
I made a set of ladybug life cycle cards with two parts. You can cut the name away from the picture and use them to teach the proper names of each stage of the life cycle. While doing this activity, I left them as is and Evan used them a reference.
Making the Ladybug Life Cycle with Play Dough
First, I put all of the materials on a tray. Then I invited Evan to come and look at the life cycle cards with me. We talked about each stage and its name.
Then I encouraged him to make models of each stage of the ladybug life cycle. We started by making the leaf and placing eggs on it. Then we continued to go through each stage in order.

Then we put the cards in order on our tray and matched up the play dough models to the cards.
This turned out to be a great success. Evan really enjoyed the tactile experience and he retained so much of what he learned.